
The RV10 has windows! And a windshield! I've got everything attached and mostly cleaned up.
Here's what it looks like now:
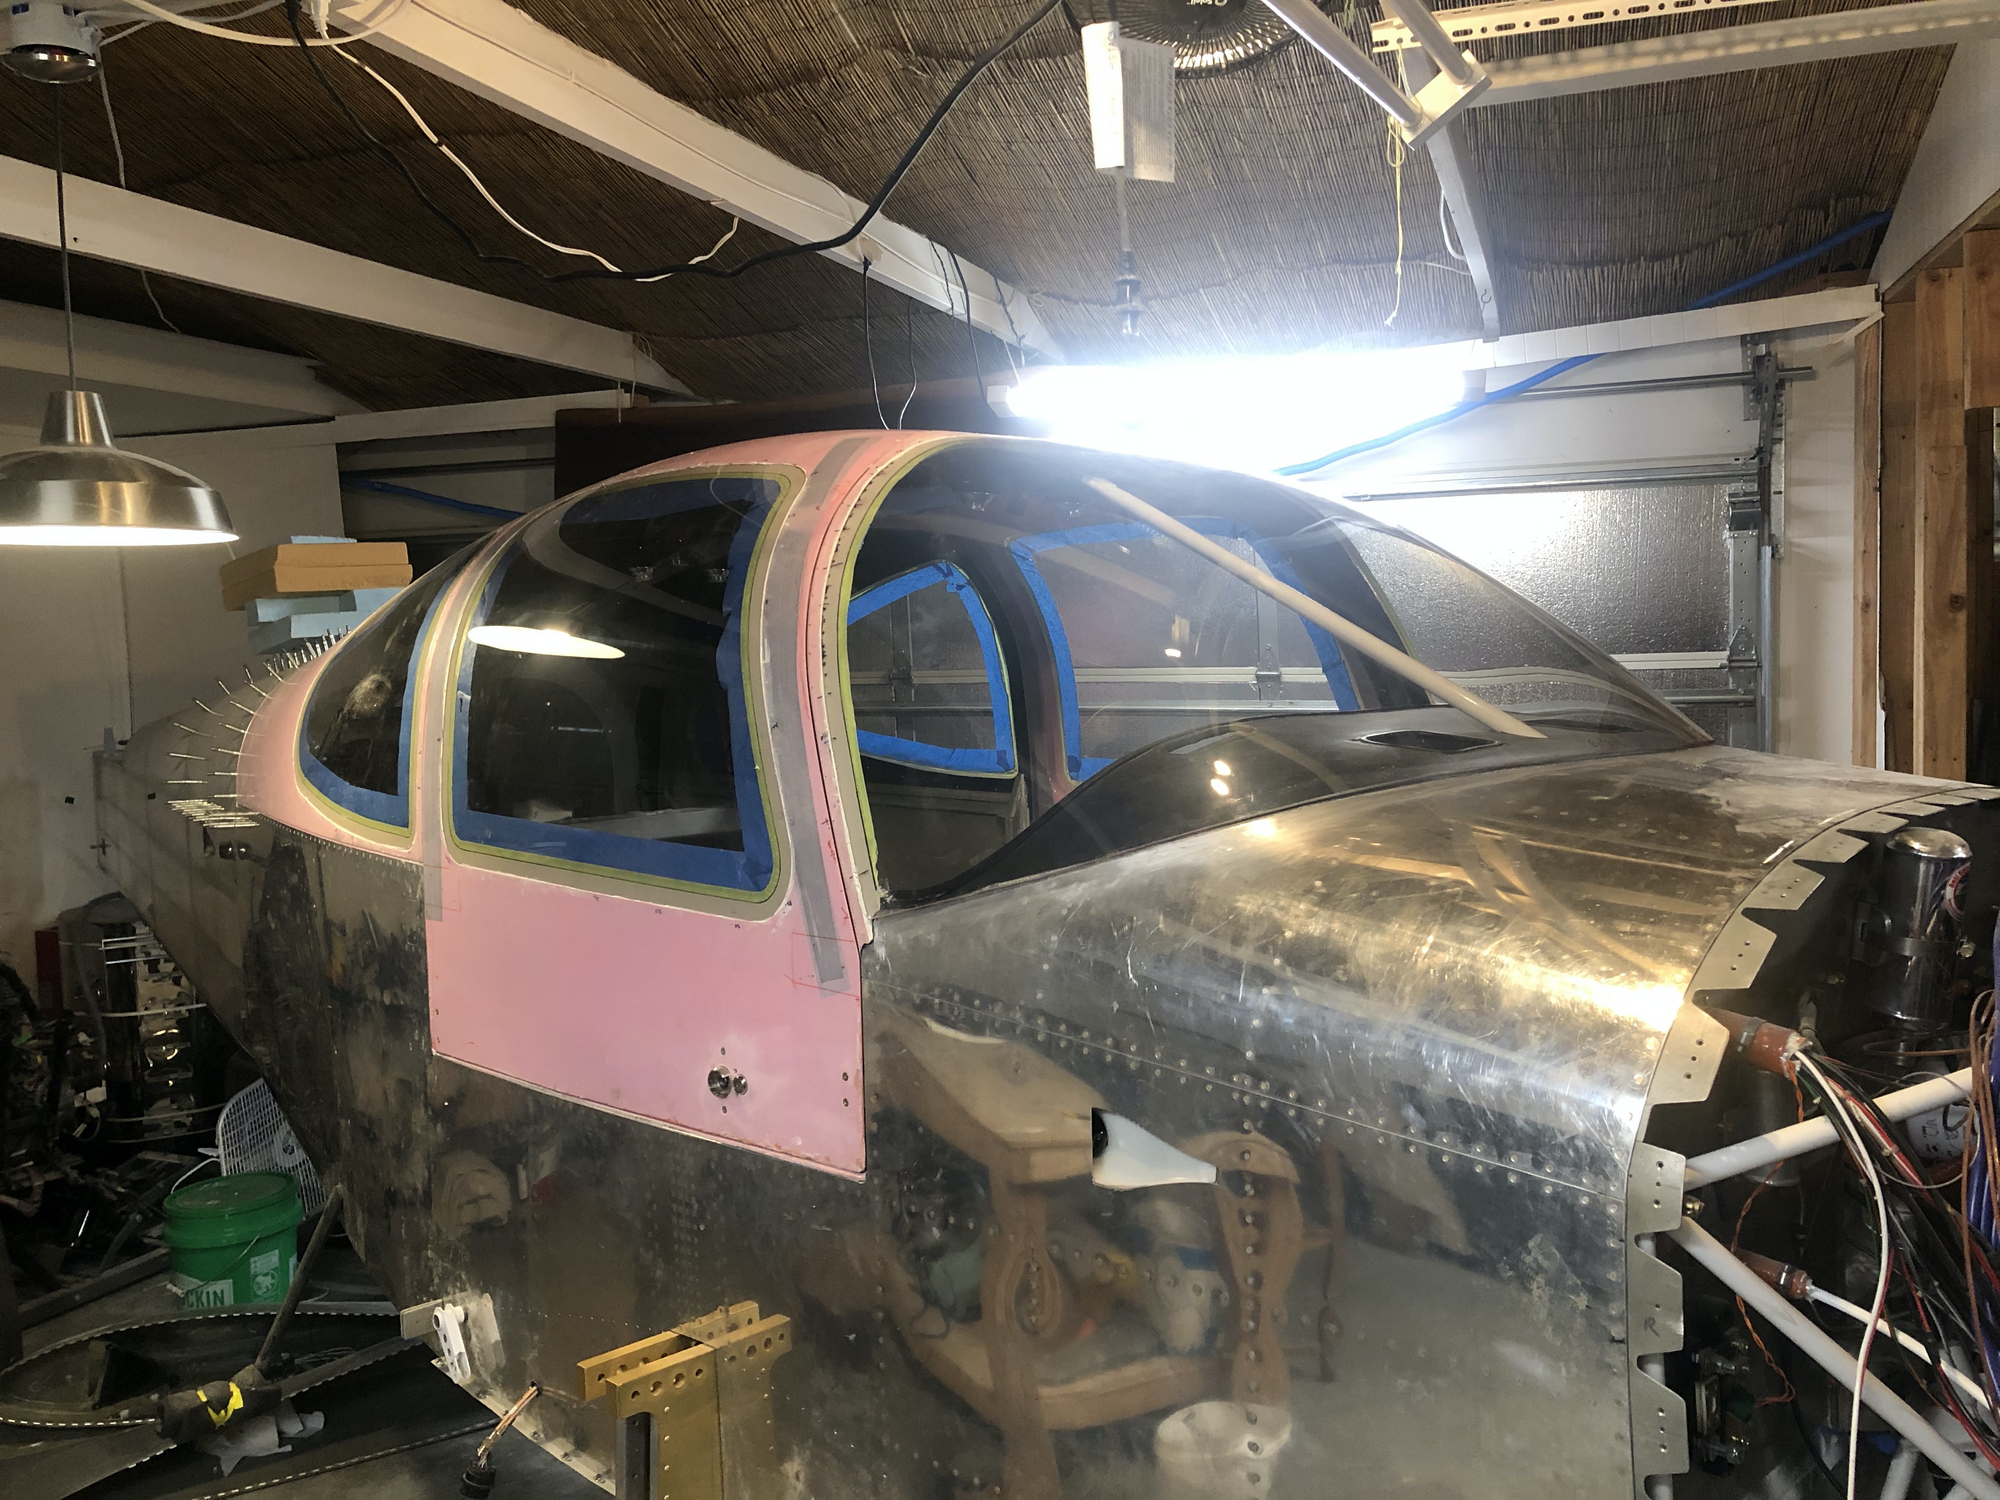
I used three tubes of Lord 7545 A/E adhesive from Aerosport Products, one for each pair of side windows and a full tube for the windshield. The process was stressful; I've been mildly dreading this for a couple of years now. Compared to much of the metal work, this step is one-shot with permanent results.
I wrote up the process of preparing to glue these in my last post; the spring clips are absolutely the right way to go. I can tell that in the spots where the clips were touching the window, there are very mild ripples (is that what people call "crazing" on the forums?) but it's barely there, and only in the zone that I expect to fiberglass over with deck cloth anyway. I'm not sure how I would have held the windows on without that tip.
What did I learn?
- Lord Adhesive seems much easier to work with than the Weld-On glue recommended in the plans. That supposedly has a very short working time and is brittle enough that folks have seen cracks around the edges of the windows a few months after installation. The lord set slowly and nicely, giving me plenty of time to make sure the windows were pressed on tight before forming the fillet inside.
- On the first two windows, I made the mistake of NOT taping the inside surfaces, and the adhesive that overflowed my internal fillet got on the painted interior surfaces. On the next two windows and windshield I ran thick blue painters tape around the inside of the windows, then ran an Exacto knife around the rim, forming a perfect tape barrier inside. (luckily the painted area I hit is going to be covered by a headliner. I was also able to run a razor blade around and get most of the excess off once it had cured without affecting the paint.)
- DON'T try to smooth out the fillet on the outside! You'll get a bunch of excess glue squeezing out between the window and the exterior surfaces. Leave it be. If you smooth it down you'll have a lot more to clean. Instead, wait until it cures and then slice off the thick bead with a razor blade.
- Use ACTUAL fine-line vinyl tape, not the fine line painters tape I used to mask off the plexiglass inside. it's impossible to tear now and glued in against the plexi. I'm going to have to cut it out and redo the fillet with black-colored micro. It would have been much easier to pull when the Lord was tacky. Maybe? Who knows.
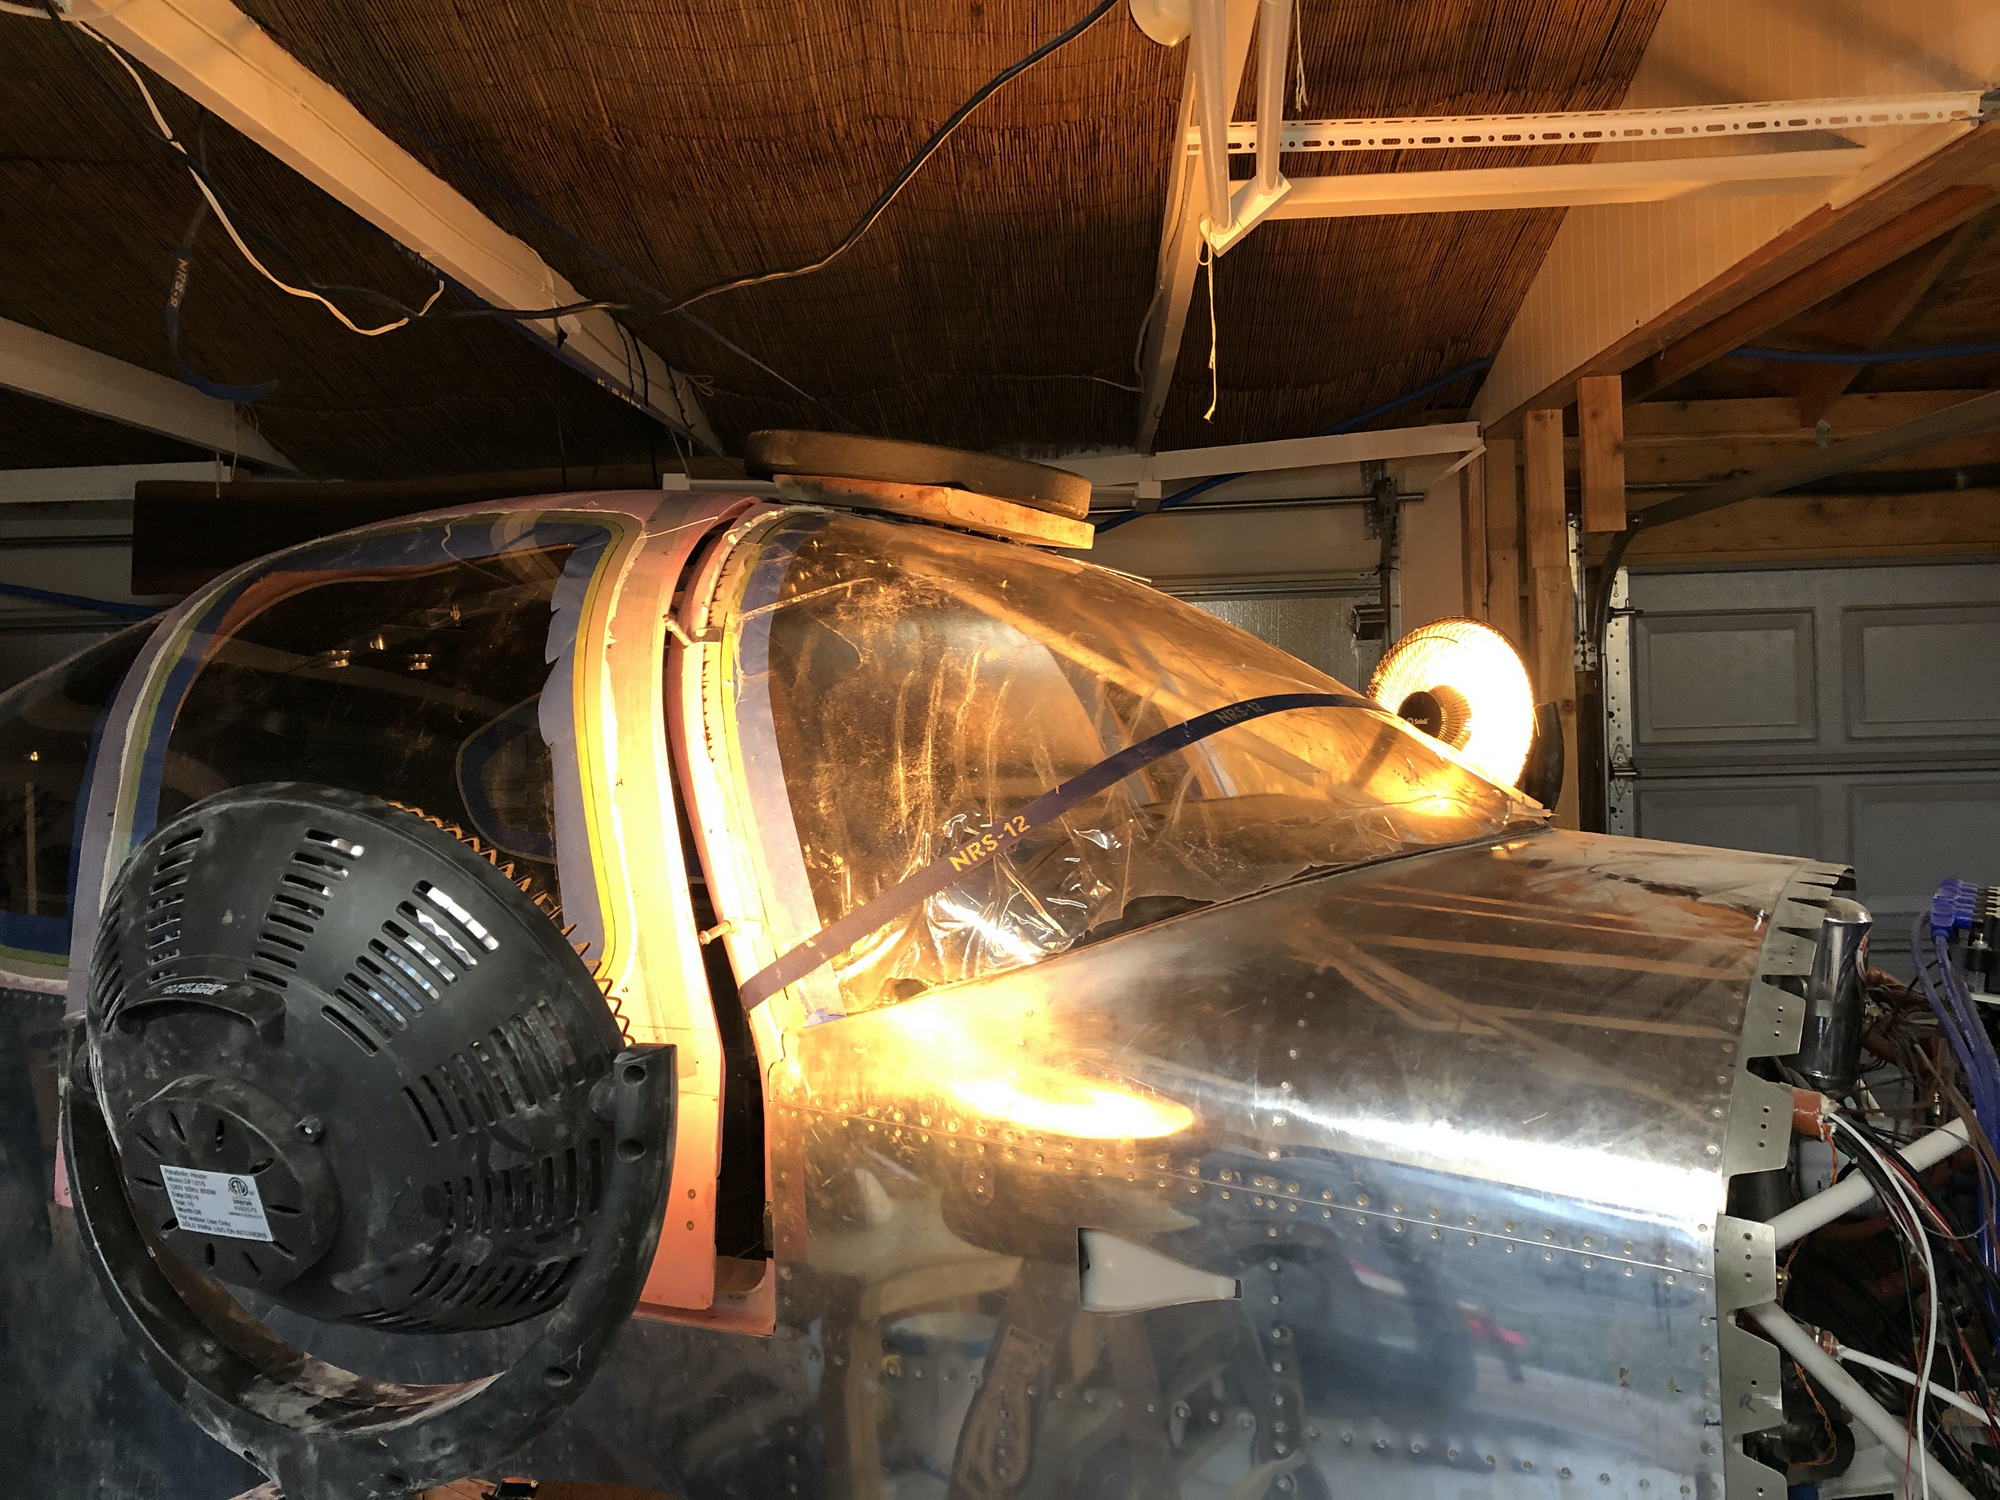
Here's a shot of the two windows on the left side of the plane curing with my heat lamp. I disabled the safety switch on the bottom of the lamp with tape and tilted it up precariously so it could point at the right angle. Not recommended!

Now, the windshield. I used a boat strap to hold the sides down tight, and used a couple of weights on top to hold the top of the plexiglass flush. (I used a bunch of little aluminum cylinders, the handles for my epoxy brushes, to focus the pressure down on a few spots).
Disaster
I did have one almost-disaster happen here. I waited a couple of hours until I believed that the glue had cured, then went out and took the weight off of the top and moved a heat lamp up above so I could get direct light on the piece and cure it well.
I came out an hour later to check on the piece and, holy shit, the top had sprung up, ripping free of the tacky glue. Nightmare at 10 at night, way past my bedtime.
I still had some glue left over, so I did what I could to force more glue into the gap between the plexiglass and the cabin top. Once I'd stuffed it full and gotten a bunch of mess on the plexiglass, I added the weights back on and got the heat lamp back up, pointing down at the whole stack. 12 hours later everything looks and feels very solid.
Once again, a shot of the final windshield and windows after I trimmed the excess glue off with a razor blade and pulled all plastic:
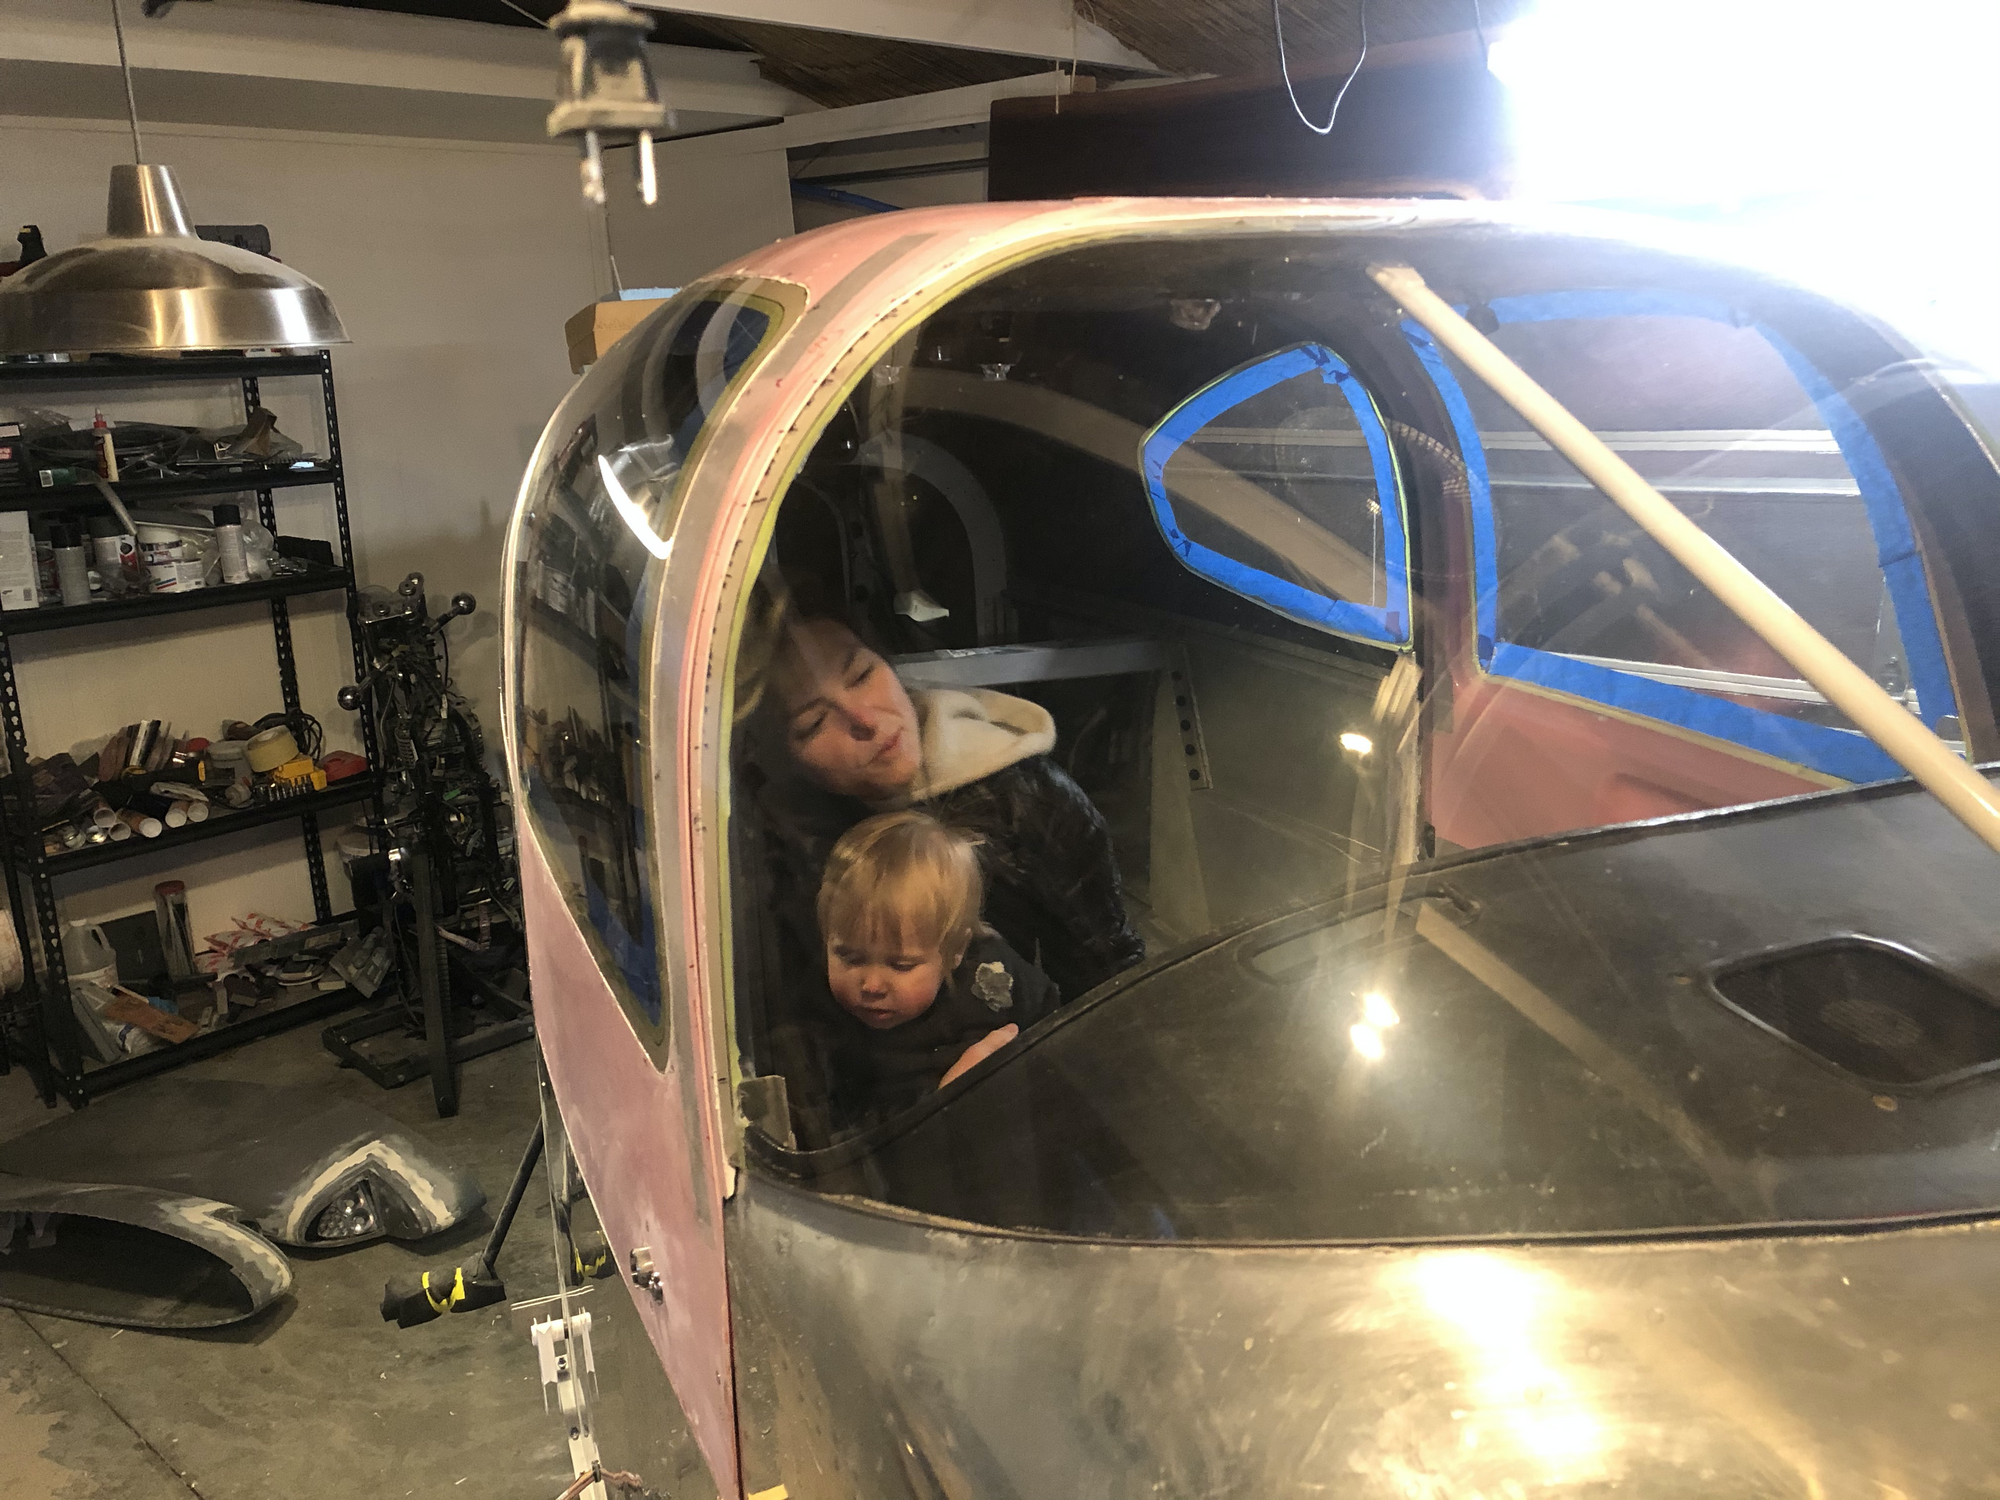
And here's inspectors Juno and Jenna, checking out my interior work:
Next Steps
In the immediate future, I'll:
- Use black-tinted micro to fill in the gap at the bottom of the windshield, as a base for the windshield fairing.
- Actually build the windshield fairing out of fiberglass strips along the bottom of the windshield
- Fit my aerosport interior panels!
One task at a time.
Comments
comments powered by Disqus